
How to Read a Floor Plan: A Beginner's Room-by-Room Walkthrough
Straight from the Slab with Duane Holloway · September 24, 2026 · 5 min read
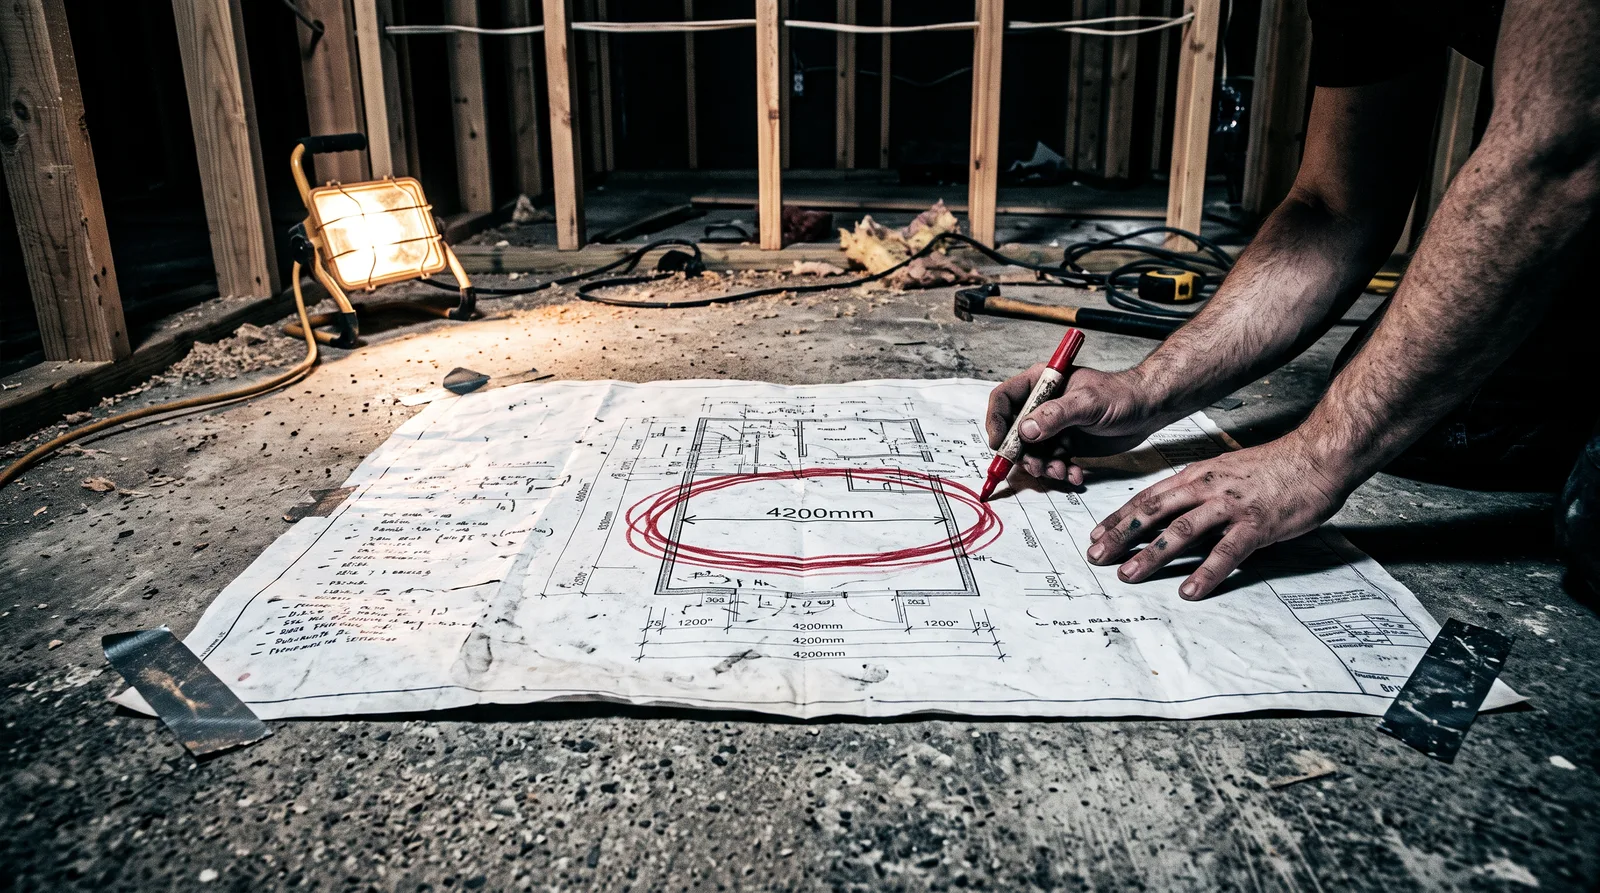
The first time most people look at a floor plan, they see a maze of thin lines, thick lines, mysterious little arcs, and numbers stacked on top of numbers. It looks technical. Official. Intimidating. But here's the truth: a floor plan is just a bird's-eye view of a home sliced horizontally about four feet off the ground. Once you understand what you're looking at — and why each element is drawn the way it is — the whole sheet snaps into focus.
Let's walk through it together, one element at a time.
Start with the Walls
The very first thing to notice is line weight — how thick or thin a line is. Thick, bold lines represent walls. On most residential plans, exterior walls (the ones separating inside from outside) are drawn thicker than interior partition walls. That thickness difference isn't just visual style; it's telling you something real. Exterior walls are deeper because they carry insulation, weather barriers, and structural load. Interior walls are thinner because they mostly just divide space.
When you see two parallel thick lines close together, you're looking at a wall in cross-section. The space between the lines represents the wall cavity. A standard wood-framed interior wall is drawn at 4½ inches (3½-inch stud + two layers of drywall). Exterior walls often show at 6 to 7 inches or more.
Doors: Follow the Arc
Doors are shown as a straight line (the door panel) attached to the wall, with a quarter-circle arc sweeping out from it. That arc is the door swing — it shows you exactly how far the door opens and in which direction. This matters more than people realize. If that arc swings into a hallway, a bathroom vanity, or a kitchen island, you'll feel that collision every single day you live there.
Pocket doors skip the arc entirely and show as a line sliding into a wall cavity. Bifold doors look like two angled lines meeting at a center point. French doors show as two arcs swinging opposite directions from a center line.
Windows: Three Lines in a Wall
A window in plan view looks like three parallel lines breaking through a wall — two for the glass panes and one for the sill or frame. That's it. The number next to or below it (like 3040) is the window size in feet and inches without the apostrophe marks: 3 feet wide, 4 feet tall. Some plans spell it out; others use that shorthand. Either way, once you know the code, you can quickly size up how much light and ventilation each room is getting before a single wall goes up.
Reading the Dimensions
Dimension lines run parallel to walls with tick marks or arrows at each end and a number in the middle. Here's the part most beginners miss: dimensions on a floor plan are almost always measured to the center of interior walls or to the face of exterior walls — not from finished surface to finished surface. That means the "12-foot bedroom" may actually be closer to 11 feet 3 inches of usable floor space once drywall is hung. Always ask your architect to clarify what the dimensions reference if it isn't labeled.
Overall dimensions run along the outside of the plan and give you the total footprint. String dimensions break that total into individual room segments. If you add up all the string dimensions and they match the overall, the plan is internally consistent — a good sign.
Room Labels and Ceiling Notes
Each room is labeled with its name and often a ceiling height noted like 9' CLG or VLTD CLG (vaulted ceiling). Pay attention to these. A vaulted ceiling affects HVAC loads, insulation details, and framing complexity. If you see a dashed line forming a rectangle or arc inside a room, that's typically a soffit, beam, or upper cabinet shown in projection from above.
Stairs: Counting the Treads
Stairs are drawn as a series of parallel lines (each line = one tread) with an arrow and the word UP or DN. Count the lines — that's how many steps you're climbing. The arrow always points in the direction of travel from that floor level.
Symbols to Know Cold
A few more you'll encounter constantly:
- Dotted or dashed lines — something above the cut plane, like an upper cabinet or a structural beam overhead
- Triangle with a number — a section cut marker pointing you to a detail drawing elsewhere in the set
- Circle with letters — an elevation marker showing which interior wall view is drawn on another sheet
- Hatch patterns inside walls — insulation, concrete, or masonry fill, depending on the pattern key
The Room-by-Room Habit
Here's how I'd suggest you actually practice: print the floor plan and walk it room by room with a highlighter. Mark every door swing. Ask yourself whether it conflicts with anything. Then mark every window. Then trace the dimension strings for one full room and verify they add up. That one exercise — done slowly, done deliberately — will teach you more than any lecture.
The blueprint isn't there to confuse you. It's a communication tool, and once you speak the language, you'll catch things in the design phase that would have cost you real money in the field.
If you want to go deeper on every sheet type in a full construction document set — elevations, sections, structural plans, and detail sheets — that's exactly what Blueprint Decoded is built for. You don't need a design degree. You just need the right guide.